
![]()
September 3, 2007
- Paint, Shower, Porch light, Trim, Goose-egg, Front Cap, Vinyl, Vinyl Seam Trim, Ceiling Panels -
![]()
September 3, 2007
- Paint, Shower, Porch light, Trim, Goose-egg, Front Cap, Vinyl, Vinyl Seam Trim, Ceiling Panels -
GUESS WHAT!! Today is *3 years* since we began this project! I really can not believe it has been that long. It does not seem like it!
It's been a while - a month - since my last update, so there has been some real change ... and a lot of pictures!
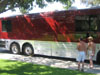
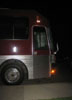
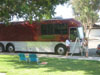
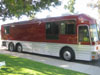
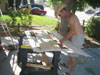
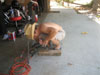
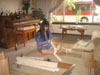
First thing I wanted to share was something I noticed about our new paint on the bus... depending on the way the sunlight hits it, the color very much varies!


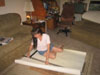
This picture shows what is my inspiration for a different paint design. More on this once I do the computer graphics to show you just what I have in my mind!
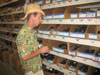
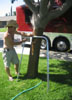
We wanted to start on the shower. However, we found that to be able to get the proper drainage without drilling a hole in the floor to the wheel well, we'll have to lift the shower about 3 - 4 inches. To do that, we'll have to move the shower to the middle of the bus... in the area we planned to be the walkway! arg. Ok, this goes on our whoops page! In the meantime, we have been searching, searching, searching for alternatives. We spent an hour or two at the local Home Depot, scratching our heads, trying to figure out a "workaround". We found a "low profile" drain and ordered it. However, it looks like the place we ordered it from is unable to supply good customer service (shipstore.com). We had plenty to work on while figuring this one out... but think we're going to end up drilling a hole in the floor, through to the wheel well for the shower drain.

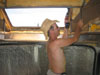
The porchlight is now up. It is a little bright. I think I'll paint the cover a bit to diffuse the light.
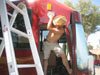
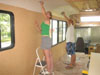
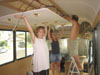
Bran and Larry helped Art put up the trim. Boy that really set off the new paint... beautifully!!
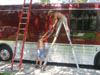
Art made homemade brackets to hold the goose eggs! :) I guess SunChaser is now officially a *Coach*!!
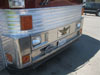
The front cap made a lot of progress this past couple weeks also!
In order to finish the front cap, we had to finish the vinyl in the curved sides of the bus. To finish that vinyl, we had to finish the wallpaper!
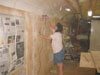
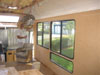
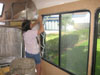
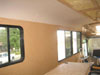
Now with the wallpaper and vinyl curves completed, we can apply vinyl to the front cap pieces. And now, that that is done, we were able to finish applying vinyl to the center panels of the livingroom... and then put the air conditioning vent cover on... which was our goal for now... we did it! woooo-hoooo!
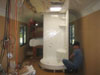
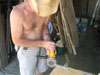
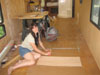
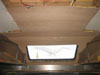
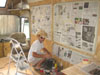
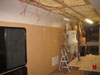
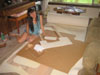
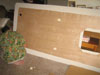
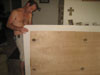
In this first picture, I wanted to figure out how to make the vinyl curve around the inside of this window hole, so I used first a cardboard and paper model, then plywood and vinyl as trial models. Making slices in the corners of the vinyl, we were able to bend it around smoothly.
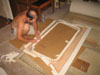
We then covered aluminum strips with vinyl (with the padding removed) to put over the seams in the vinyl.


I stitched the corners to give it a clean look.

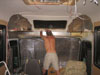
Art cut the holes and installed the lights in the livingroom light panel. Bran and Shannon helped us install the panel. Bran tested the lights to make sure they all worked.
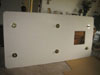
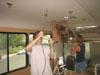
All done! Be-ea-au-ti-ful!!!

![]()